GANXING Technical Guide
Can Car Scratches Be Polished Out? A Scratch-Depth Diagnosis Guide
Learn how to distinguish surface transfer, clear-coat scratches, deep paint damage, and defects that should not be machine polished.
Quick answer
Polishing can reduce defects that remain within the clear coat, but it cannot rebuild missing color coat or primer. Clean and inspect the area, use the least aggressive test spot, and stop if the scratch exposes color, primer, or bare material.
Start with the paint layers, not the machine
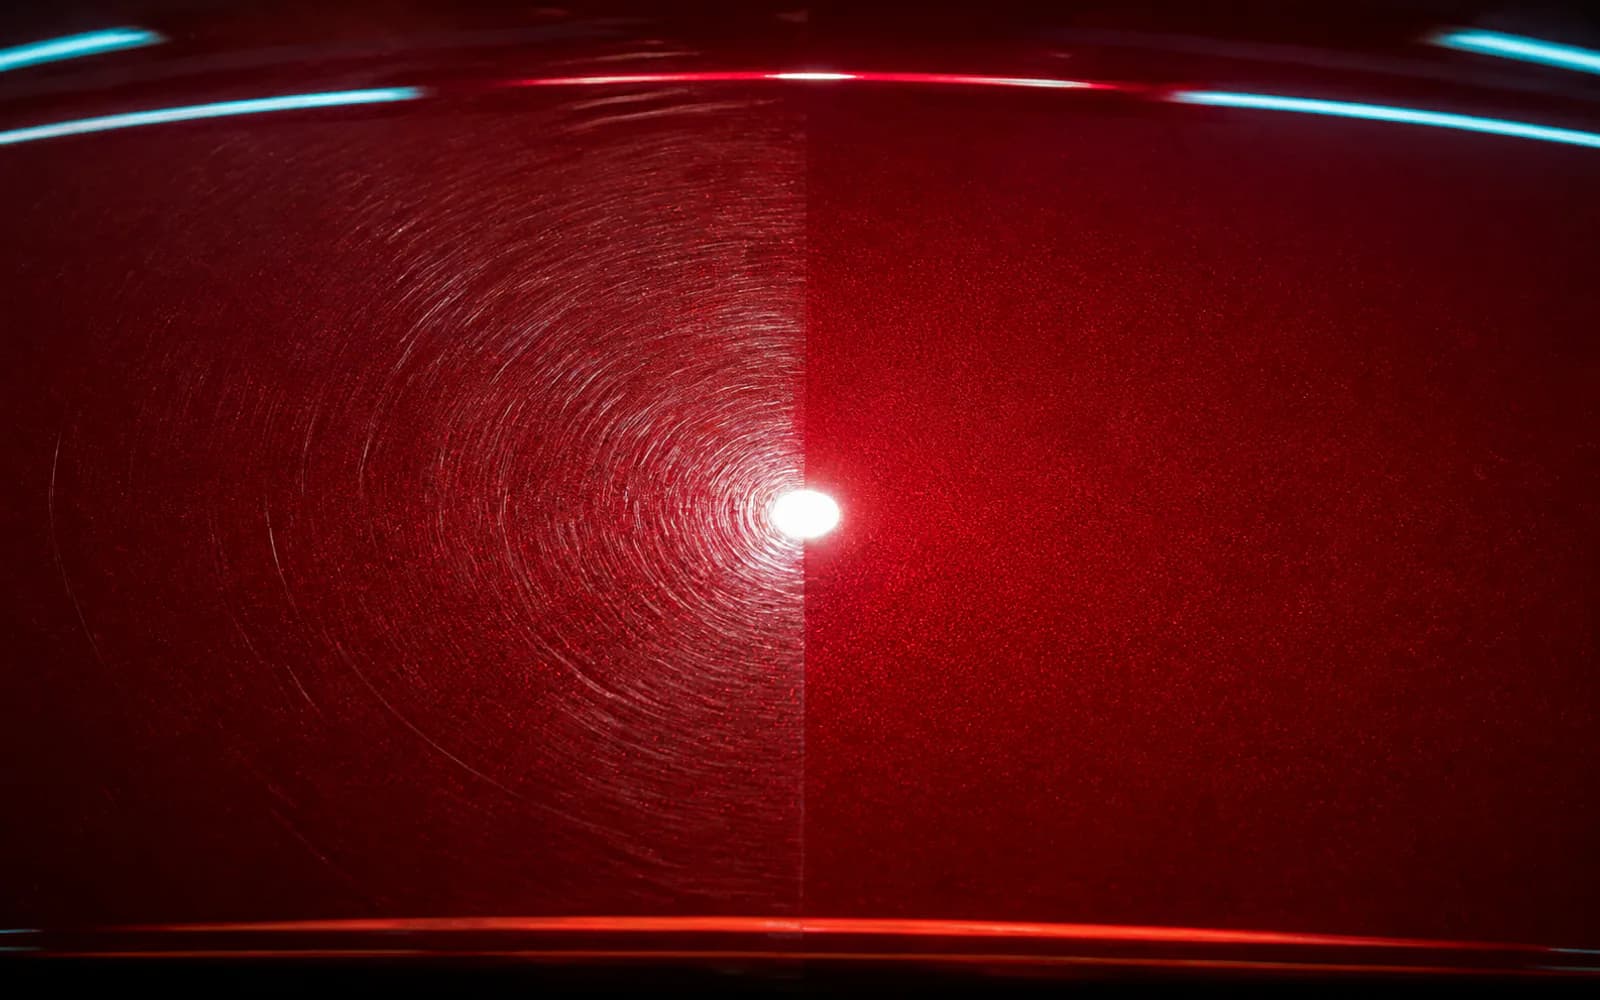
Modern automotive finishes usually place a transparent clear coat above the color coat and primer. Polishing levels a microscopic amount of the upper surface so light no longer catches the defect edge. It does not fill a groove or replace paint that has been removed.
A mark can also be transferred rubber, paint, mineral deposit, or contamination sitting on top of the finish. Removing that material safely may solve the problem without abrasive correction.
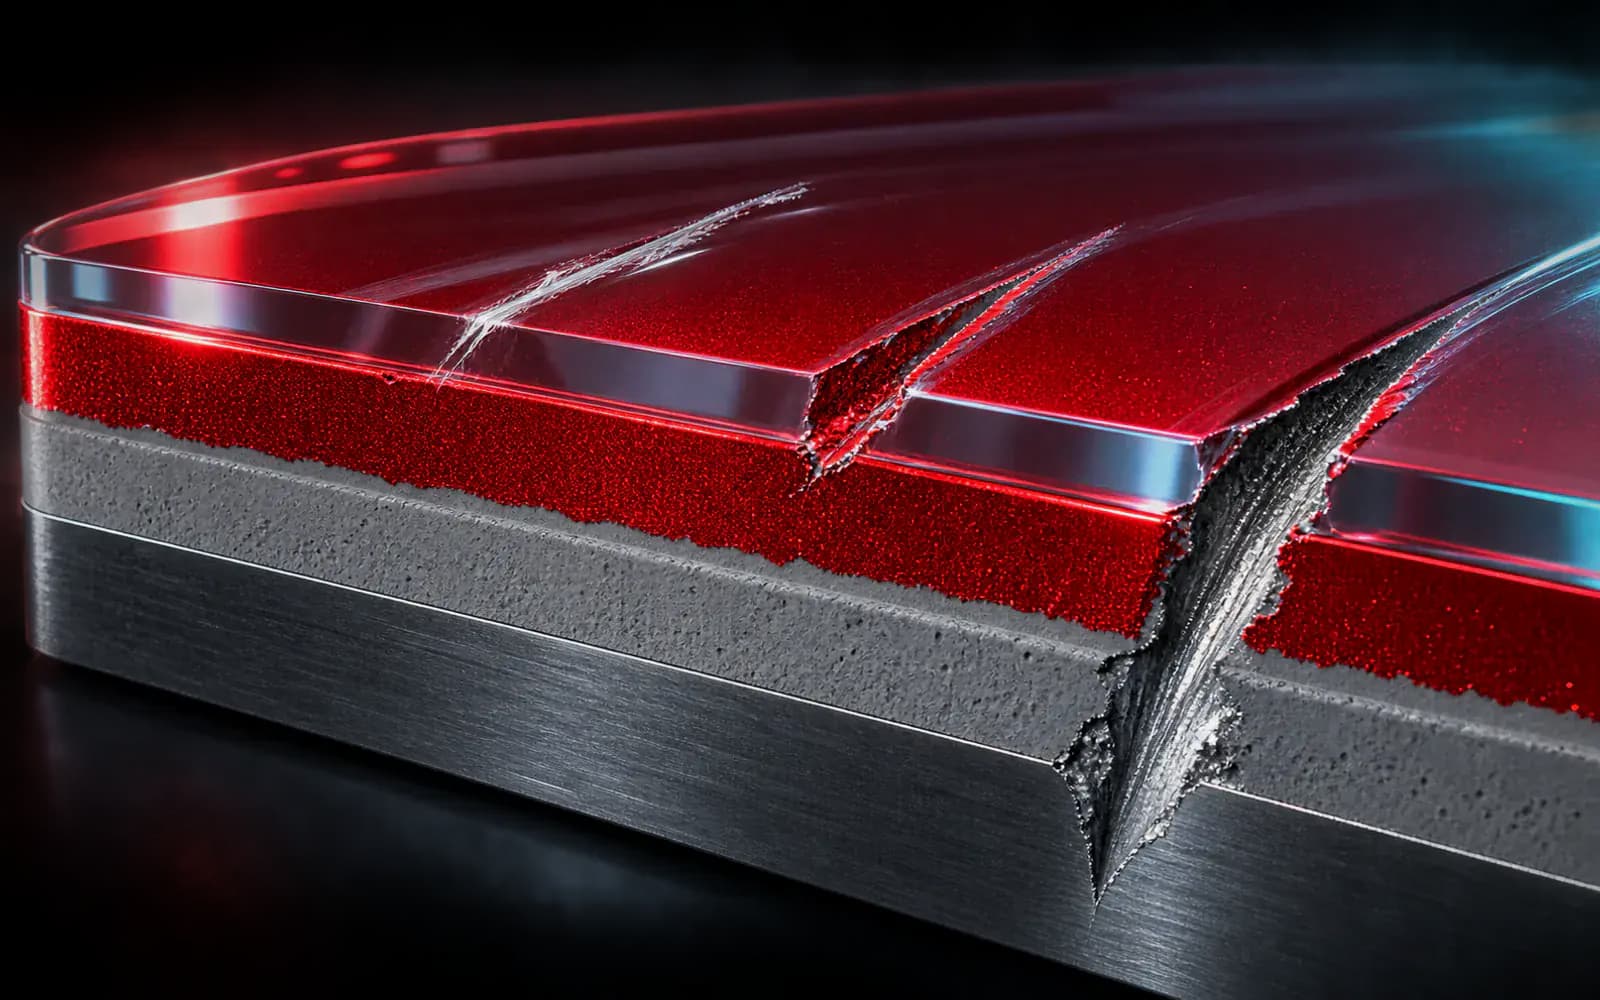
A four-level field diagnosis
| Observation | Likely condition | Recommended response |
|---|---|---|
| Mark changes after washing or solvent-safe cleaning | Surface transfer or contamination | Continue cleaning; do not compound yet |
| Fine mark visible in directional light, no missing color | Light clear-coat defect | Fine polish and a controlled test spot |
| Distinct groove or mark that catches a fingernail | Moderate or deep defect; depth is uncertain | Measure and assess; improvement may be safer than full removal |
| Color, primer, plastic, or metal is visible | Coating has been breached | Stop polishing; use paint repair or body-shop methods |
The fingernail test is only a screening clue
It cannot identify the remaining clear-coat thickness. Professional correction should combine inspection lighting, coating-thickness measurement where applicable, and a documented test spot.
Use the least aggressive test spot
- 01
Clean and decontaminate
Wash, dry, and remove bonded contamination so the pad does not drag particles across the paint.
- 02
Inspect under controlled light
View from more than one angle and mark the working area before correction.
- 03
Start mild
Begin with a finishing or light-polishing pad and polish. Increase cut only when the test result proves it is necessary.
- 04
Inspect the result, not the residue
Remove residue with a compatible inspection method and check whether the defect is removed, filled, or merely hidden.
Know when to stop
- Stop if the defect exposes color coat, primer, plastic, composite, or metal.
- Reduce the target near edges, body lines, repainted areas, or panels with unknown history.
- Stop when temperature rises unusually, the pad stalls repeatedly, or the finish changes faster than expected.
- A safer 70–80% visual improvement can be better than chasing complete removal.
Do not wet-sand an unknown finish as a first response
Wet sanding removes material quickly and requires a verified coating condition, a defined refinement sequence, and experienced inspection.
Safety note: This guide provides a decision framework and does not replace an on-site assessment of the surface, coating thickness, material compatibility, or the machine manual. Test a small area first and use appropriate PPE.