GANXING Technical Guide
How to Remove Swirl Marks Without Burning Through Clear Coat
A controlled DA polishing workflow for diagnosing, correcting, inspecting, and preventing swirl marks.
Quick answer
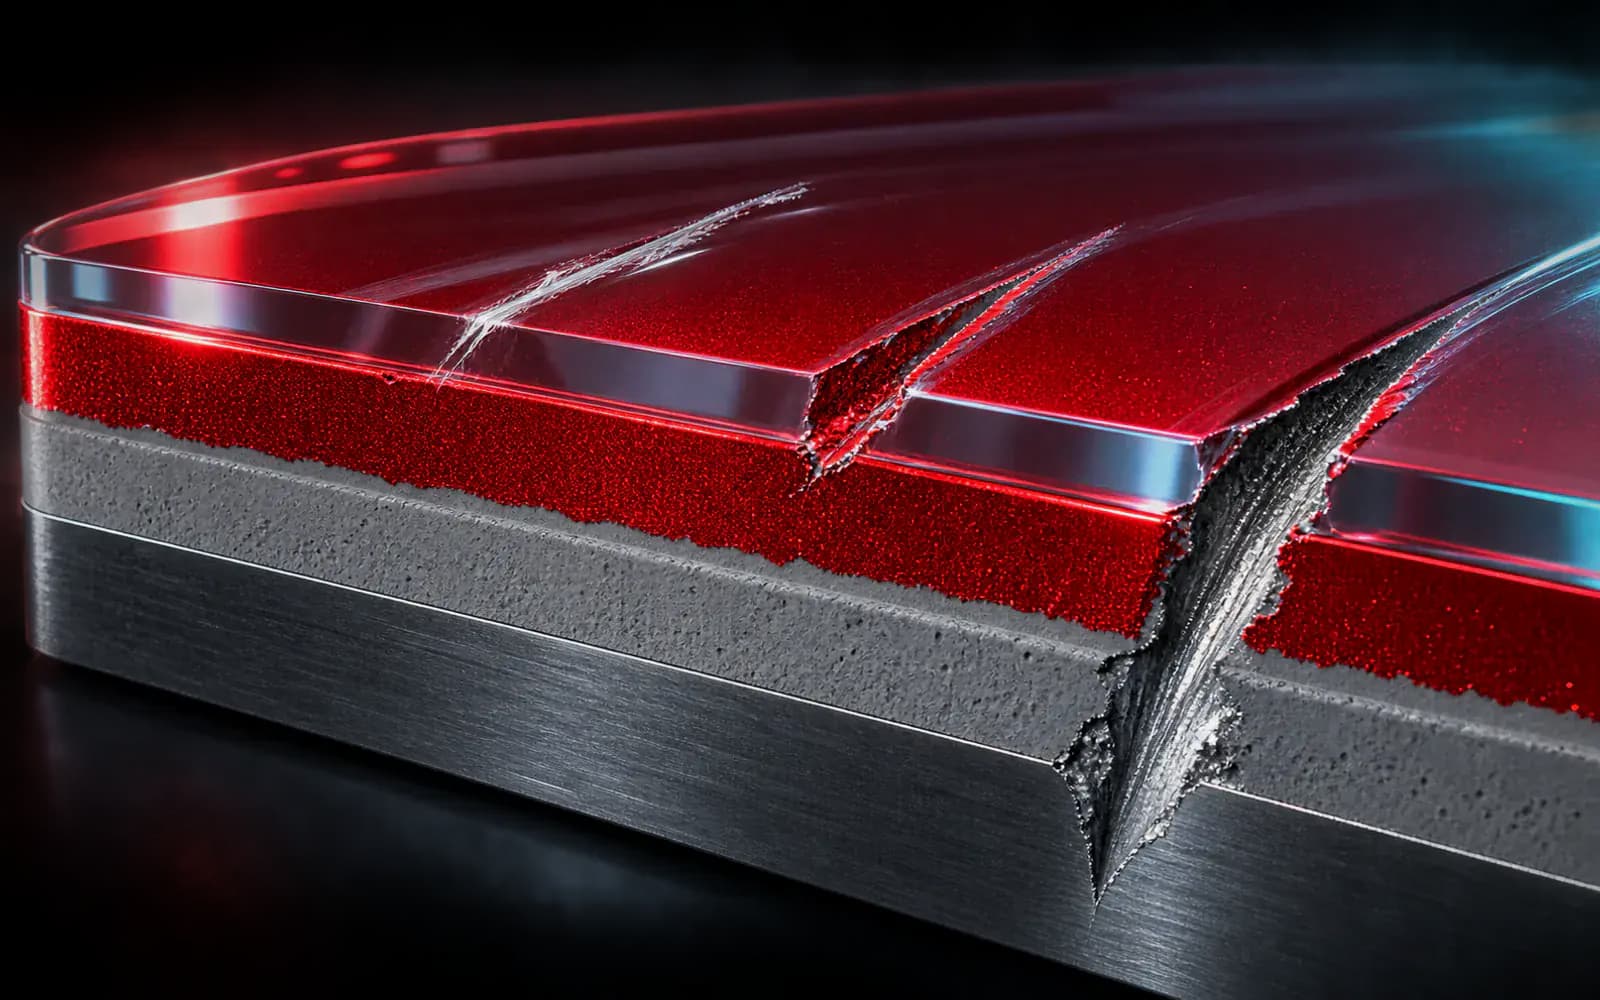
Swirl marks are shallow, multi-directional defects that scatter direct light. Correct them with clean preparation, a mild DA test spot, overlapping passes, pad maintenance, and inspection after each cycle—not with maximum speed or pressure.
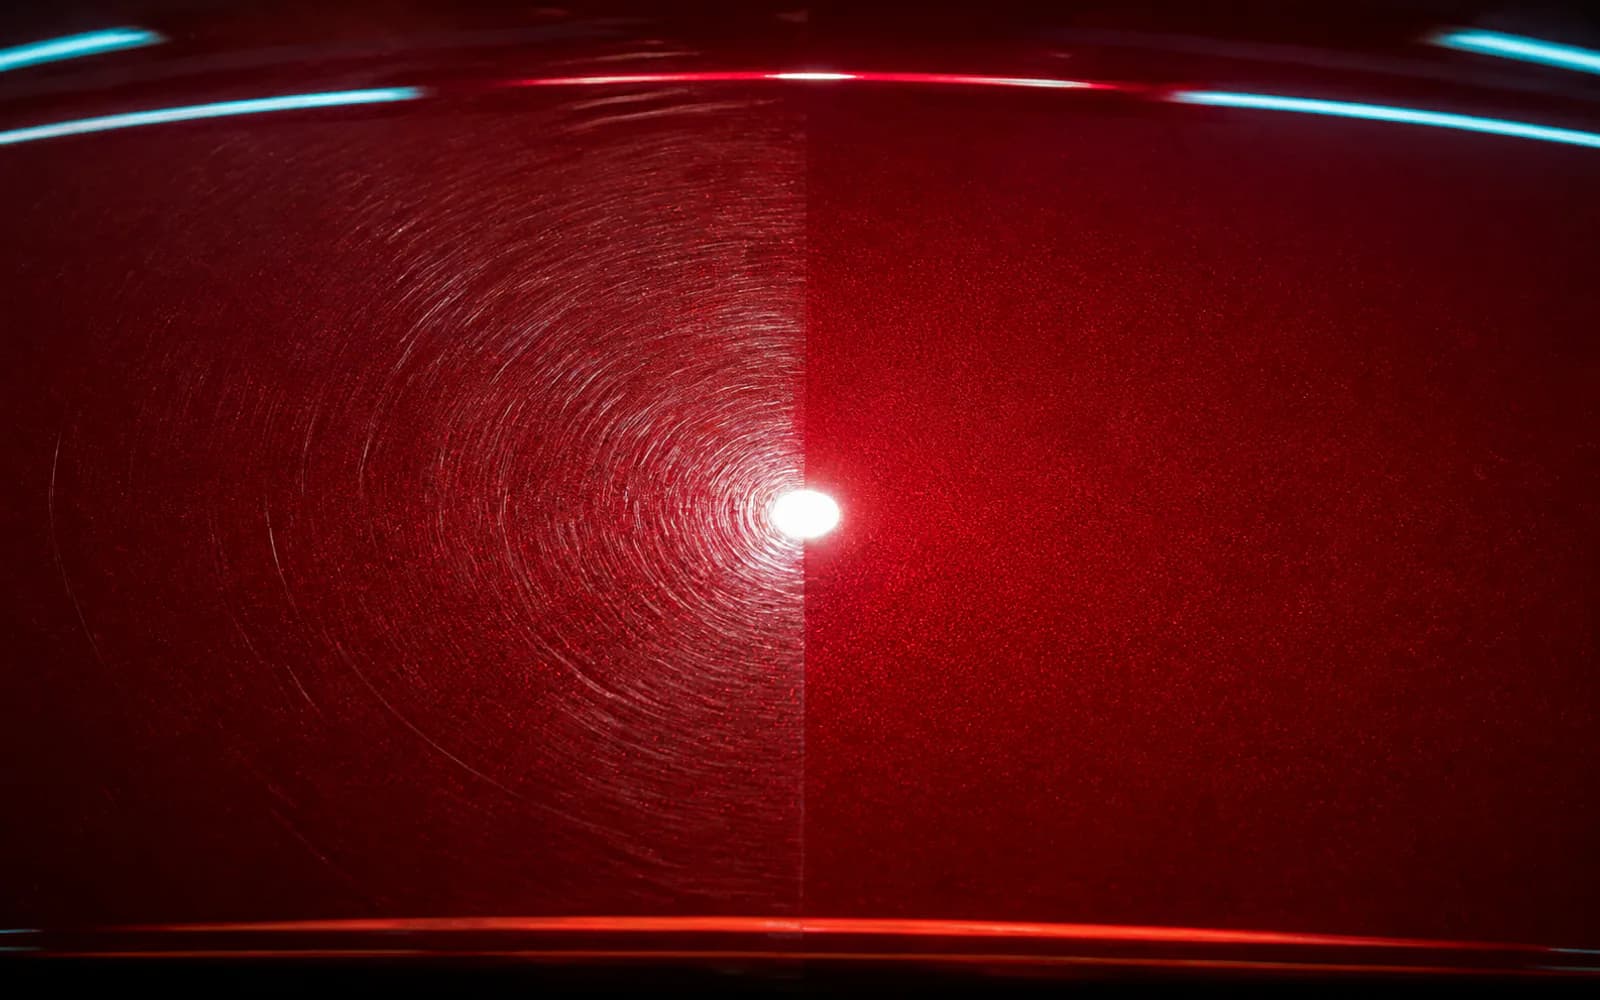
Why swirl marks form a halo
Swirls are not one circular scratch. They are many fine defects oriented in different directions. A point light source reflects from their edges, making the pattern appear circular around the reflection.
Common causes include contaminated wash media, automatic brush washes, dry wiping, dirty pads, abrasive dust, and incomplete refinement after compounding.
A controlled correction workflow
- 01
Wash, decontaminate, and mask
Remove loose and bonded contamination. Protect textured plastic, sharp edges, badges, and sensitive trim.
- 02
Build one test spot
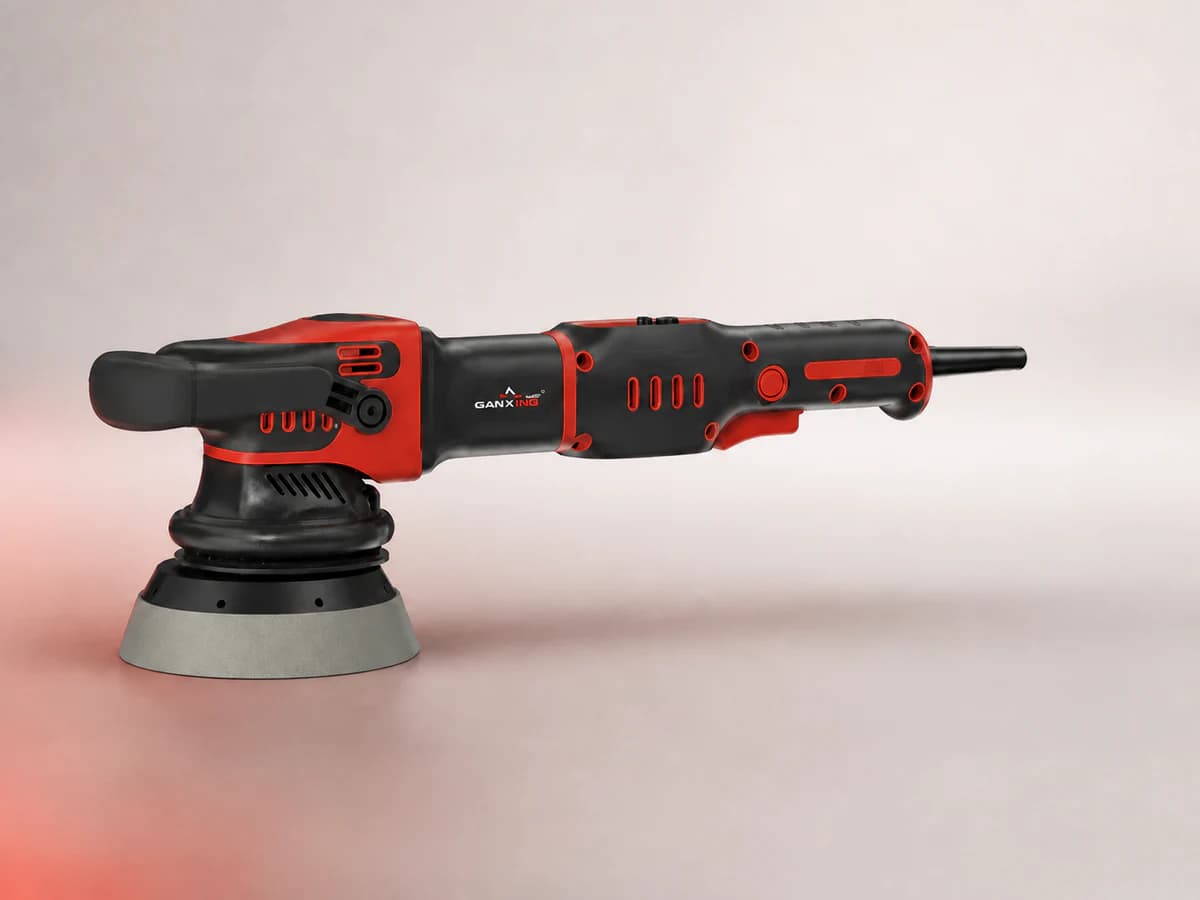
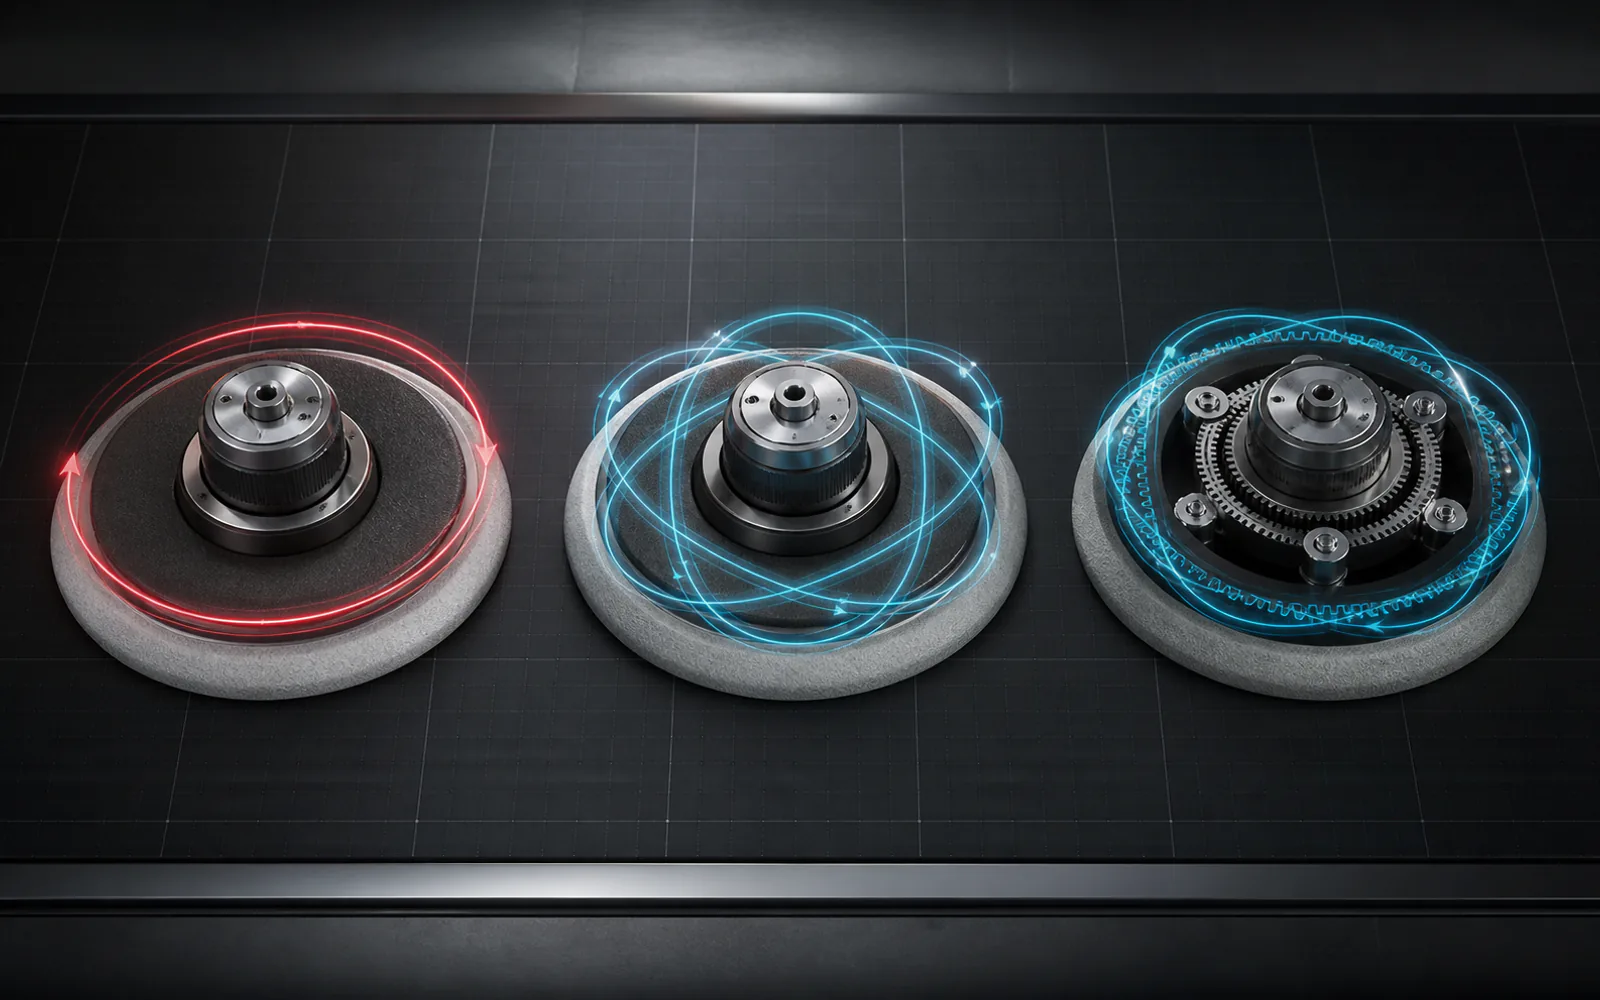
Use a small, clearly defined area under inspection lighting. Start with a light polish and polishing pad on a DA machine.
- 03
Keep the pad flat and passes consistent
Spread product at low speed, then use slow overlapping crosshatch passes within the tool and polish maker’s operating range.
- 04
Clean the pad before it becomes saturated
Spent abrasive, removed coating, and heat reduce consistency and may introduce new marring.
- 05
Inspect and choose the next action
If the finish is clear, repeat the proven system panel by panel. If defects remain, change only one variable at a time.
If the finish still looks wrong
| Symptom | Likely cause | Correction |
|---|---|---|
| Swirls remain unchanged | Combination is too mild, pad is saturated, or passes are too fast | Clean the pad, verify technique, then increase cut one step |
| Haze appears after correction | Aggressive pad/polish or sensitive paint | Refine with a clean finishing pad and fine polish |
| Defects return after wiping | Oils or fillers temporarily masked the surface | Use a compatible inspection method and reassess the test spot |
| Pad stops rotating | Excess pressure, steep panel shape, or poor pad contact | Reduce pressure, keep the pad flat, or use a smaller tool |
Prevent the next set of swirls
- Use clean wash media and separate heavily contaminated areas from paint-contact tools.
- Avoid dry wiping and automatic brush washes on corrected paint.
- Use clean microfiber towels with light, controlled pressure.
- Protect the corrected surface with a compatible wax, sealant, or coating after final inspection.
Safety note: This guide provides a decision framework and does not replace an on-site assessment of the surface, coating thickness, material compatibility, or the machine manual. Test a small area first and use appropriate PPE.