GANXING Technical Guide
Foam, Wool or Microfiber? A Polishing Pad Selection Guide
Understand how pad material, structure, size, cleanliness, and polish work together to control cut and finish.
Quick answer
Pad material does not determine the result alone. Wool and microfiber commonly increase defect-removal potential, while foam offers a wide range from cutting to finishing. The correct choice is the least aggressive clean pad-and-polish combination that reaches the target finish on a test spot.
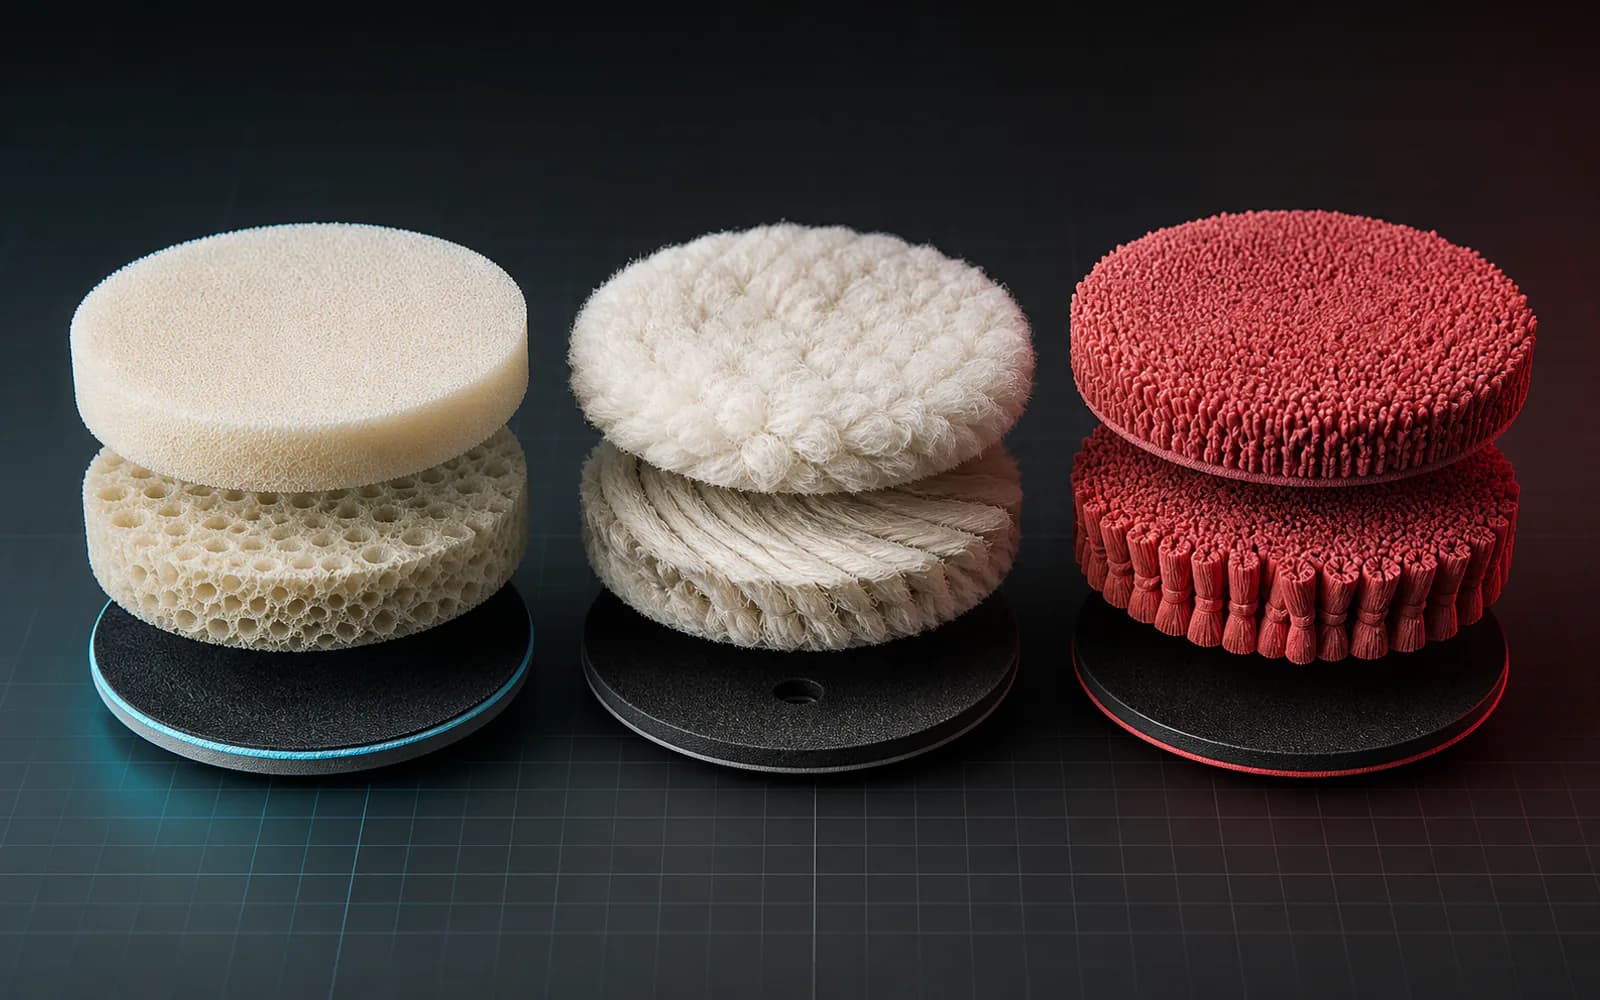
Pad materials are working structures
| Pad family | Typical role | Strength | Watch for |
|---|---|---|---|
| Foam | Cutting, polishing, or finishing depending on cell and stiffness | Broad tuning range and predictable finish | Heat, product saturation, compressed or damaged foam |
| Wool | Fast correction and sanding-mark refinement | High material-removal potential and cooler air movement in some constructions | Fiber loading, lint, rotary holograms, edge behavior |
| Microfiber | DA cutting and moderate defect removal | Efficient cut across an orbital working path | Fibers matting down, residue loading, haze on sensitive paint |
The pad is only one part of the cut
Actual correction comes from the complete system: abrasive chemistry, pad material and geometry, machine motion, orbit, speed range, pressure, cycle time, panel shape, coating hardness, temperature, and pad condition.
Pad colors are not standardized across brands. Select by the manufacturer’s stated function and construction—not color alone.
Change one variable at a time
If a test spot is insufficient, first clean or replace the pad and verify technique. Then change pad or polish one step so you know what caused the result.
A repeatable selection process
- 01
Define the finish target
Decide whether the goal is defect reduction, one-step improvement, sanding-mark removal, or final gloss.
- 02
Inspect paint sensitivity
Soft or dark finishes may show haze from combinations that finish clearly on harder coatings.
- 03
Start with the mildest plausible system
Use a clean pad and measured product on a small test spot.
- 04
Separate cutting and finishing when needed
A high-cut step may remove the defect but leave micro-marring that requires a second, finer pad-and-polish step.
Pad condition controls consistency
- Center the pad on the backing plate and confirm compatible diameter and attachment.
- Clean frequently; do not continue with matted fibers or a saturated face.
- Use multiple pads for a full vehicle so one pad is not forced through every panel.
- Retire pads with delamination, tears, permanent compression, or heat damage.
- Keep cutting and finishing pads physically separated and clearly labeled.
Safety note: This guide provides a decision framework and does not replace an on-site assessment of the surface, coating thickness, material compatibility, or the machine manual. Test a small area first and use appropriate PPE.