GANXING Technical Guide
Sanding Grit Progression: Remove the Previous Scratch, Not Just the Dust
A professional method for choosing the starting abrasive, proving scratch refinement with guide coat, matching orbit to the task, and extracting dust at source.
Quick answer
Start only coarse enough to remove the actual defect, then use each following abrasive until the previous scratch pattern is completely replaced by a finer, uniform pattern. Guide coat, clean abrasives, consistent overlap and source extraction make this transition visible and repeatable.
Think in scratch replacement, not grit numbers
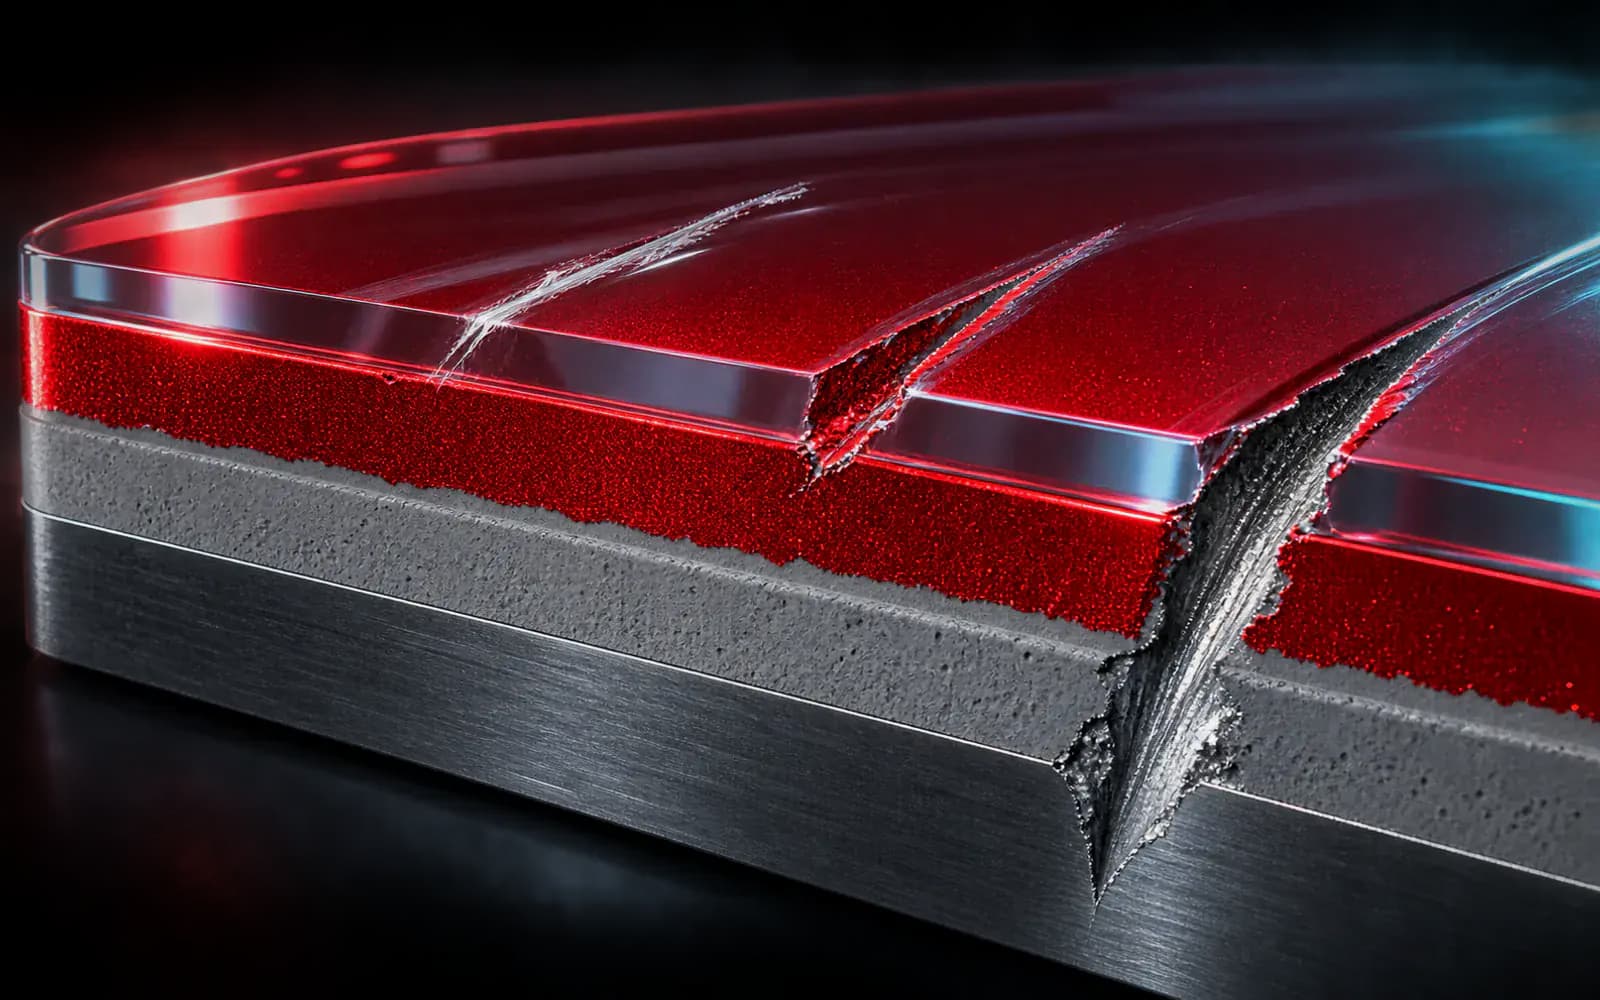
Every abrasive creates a controlled field of scratches. The next step succeeds only when it removes the deepest scratches from the previous step and replaces them with a shallower, consistent profile. A finer disc cannot reliably hide isolated deep lines left behind by a contaminated or overly coarse step.
Grit labels are starting references, not universal surface-roughness guarantees. Mineral type, backing, abrasive structure, pressure, orbit, speed, substrate hardness and disc condition all change the actual scratch.
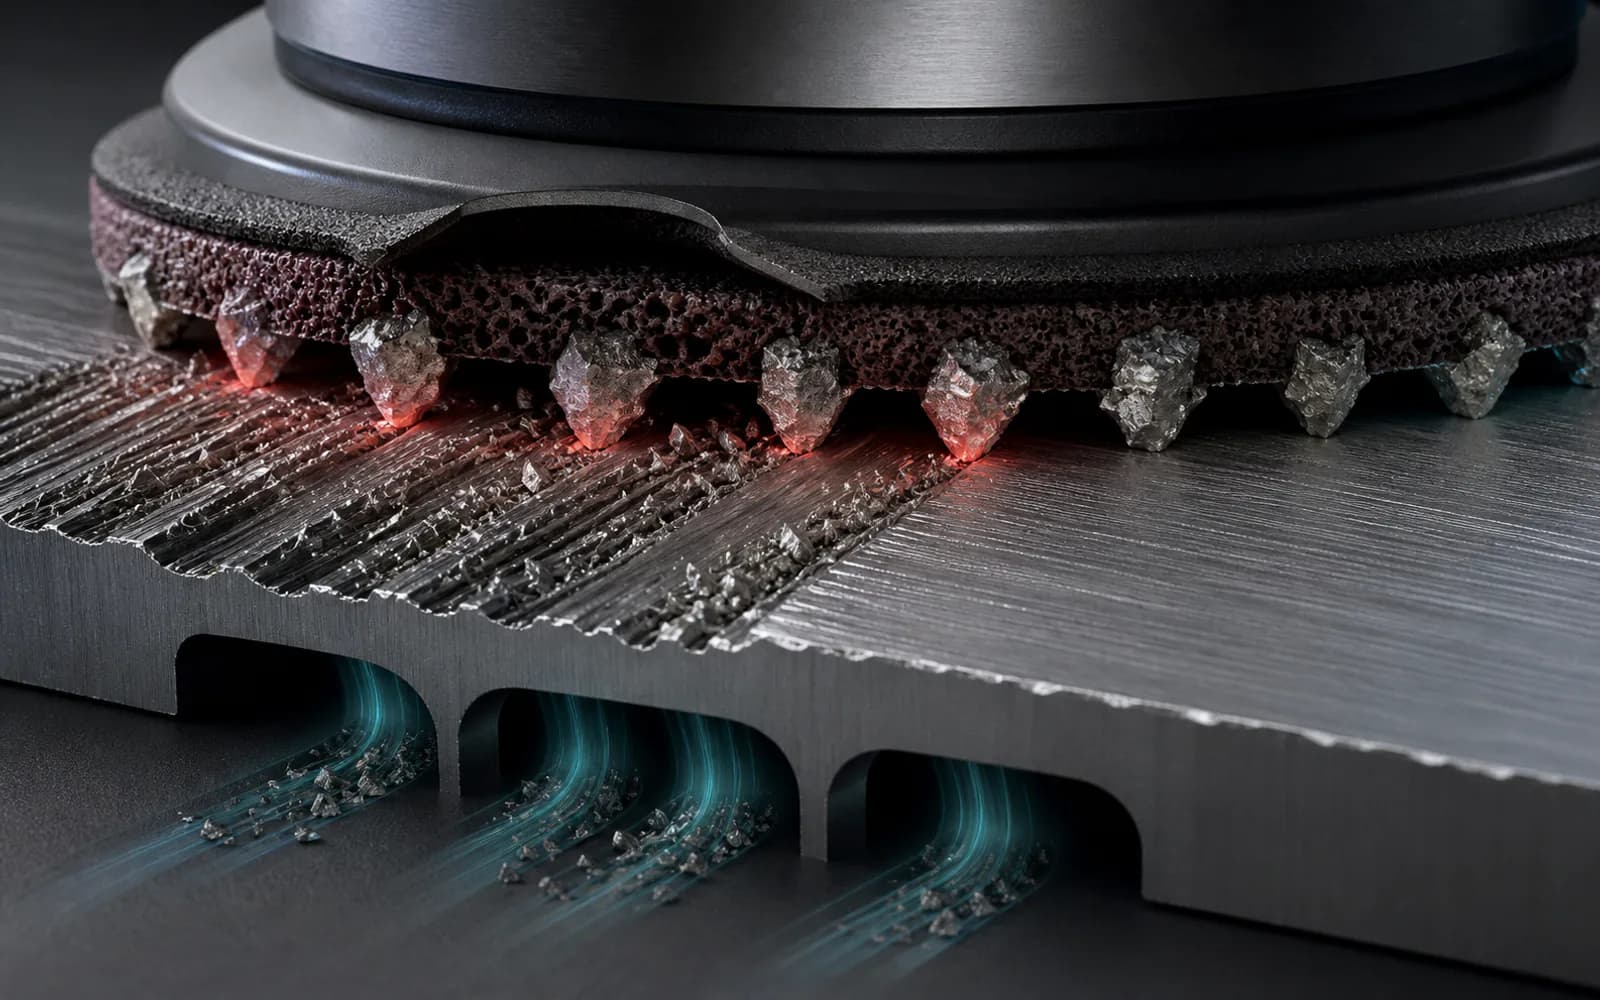
REFINEMENT STAGE
02 / 04
Select a process state to compare the material response.
Choose a sequence from the defect and the next operation
| Process target | Typical starting range | Proof before moving on |
|---|---|---|
| Coating removal or shaping | Coarse; selected by trial and substrate | Defect removed without unnecessary gouging |
| Leveling primer, sealer or wood | Medium, then refined for the coating system | Guide coat is uniformly removed; no isolated deep scratches |
| Preparation before polishing | Fine to micro-fine, material dependent | Uniform haze under directional inspection light |
Do not copy a grit sequence without testing
3M’s application guide explicitly treats recommendations as starting points and calls for trials. Always follow the coating, abrasive and substrate supplier requirements for the actual system.
Build a visible control loop
- 01
Mark the surface
Use a compatible guide coat or controlled inspection method to reveal low spots and retained scratches.
- 02
Sand with repeatable overlap
Keep the pad supported, travel speed consistent and passes overlapping. Avoid tipping the pad onto an edge.
- 03
Clean before judging
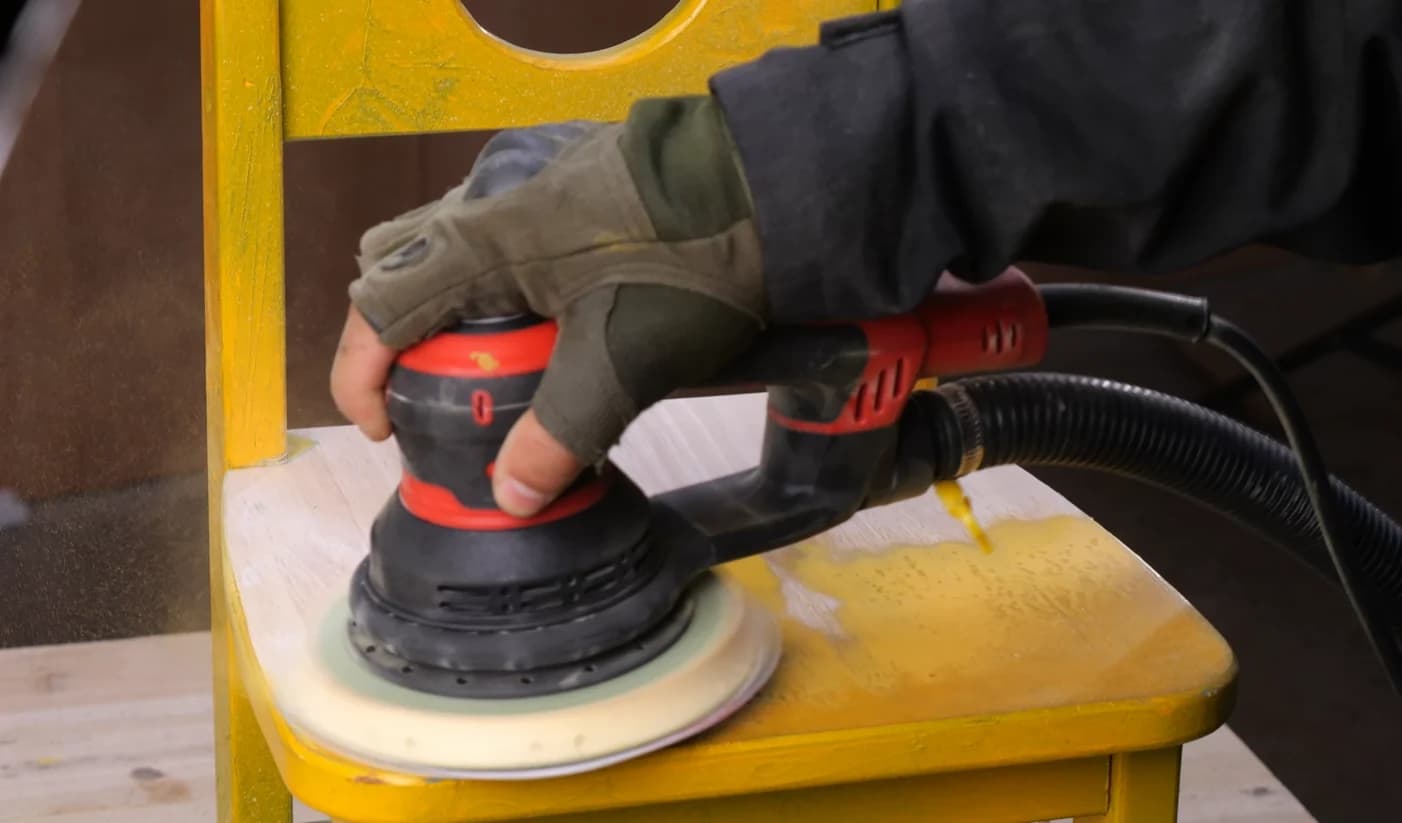
Remove loose debris with source extraction and an approved cleaning method. Dust can hide both finished and unfinished areas.
- 04
Replace worn or loaded abrasive
A loaded disc can create pigtails and isolated deep marks. Do not extend disc life at the cost of rework.
Dust extraction is a process control and a health control
- Use a compatible perforated pad, abrasive and extractor so suction reaches the sanding interface.
- Inspect hoses, seals, filters and airflow; a connected hose is not proof that capture is working.
- Do not clean combustible wood dust with compressed air; control accumulation and ignition sources.
- Manage trigger time and tool vibration according to the manufacturer’s measured data and local requirements.
Material hazards vary
Paint, filler, wood species, composites and older coatings can require different controls. Identify the material and review its safety data before sanding.
Safety note: This guide provides a decision framework and does not replace an on-site assessment of the surface, coating thickness, material compatibility, or the machine manual. Test a small area first and use appropriate PPE.